***UPDATE***
Through collaboration on our Descience design I have learned a lot about Pedro’s research on networks within the design process. He was kind enough to write some comments on my synopsis of our design process, which I have added to the post in red. Included are some links to additional information related to his work and the design concepts that are worth checking out!
My blog hasn’t been feeling the love this spring and summer. And while I have been sad not to get out the word about all things balancing blonde I had to be absent while focusing on a different labor of love. I’ve always loved fashion design, and have always wanted to learn how to construct clothing. In a decision fueled by one or two glasses of wine, I decided to sign up for a fashion design competition!
 The competition, Descience was created by a group at MIT who thought it would be interesting to showcase the creative worlds of science and fashion, giving a new form of expression, and a new source of inspiration respectively. Each designer was paired with a scientist who provided background on his or her research. My partner, scientist Pedro Parraguez Ruiz, studies the complex networks within the design process, which are what take a project from an idea to a product. These networks are often a collection of informal threads which are far more reaching then companies prescribed organizational structures, and are what make it possible to bring a concept to life.
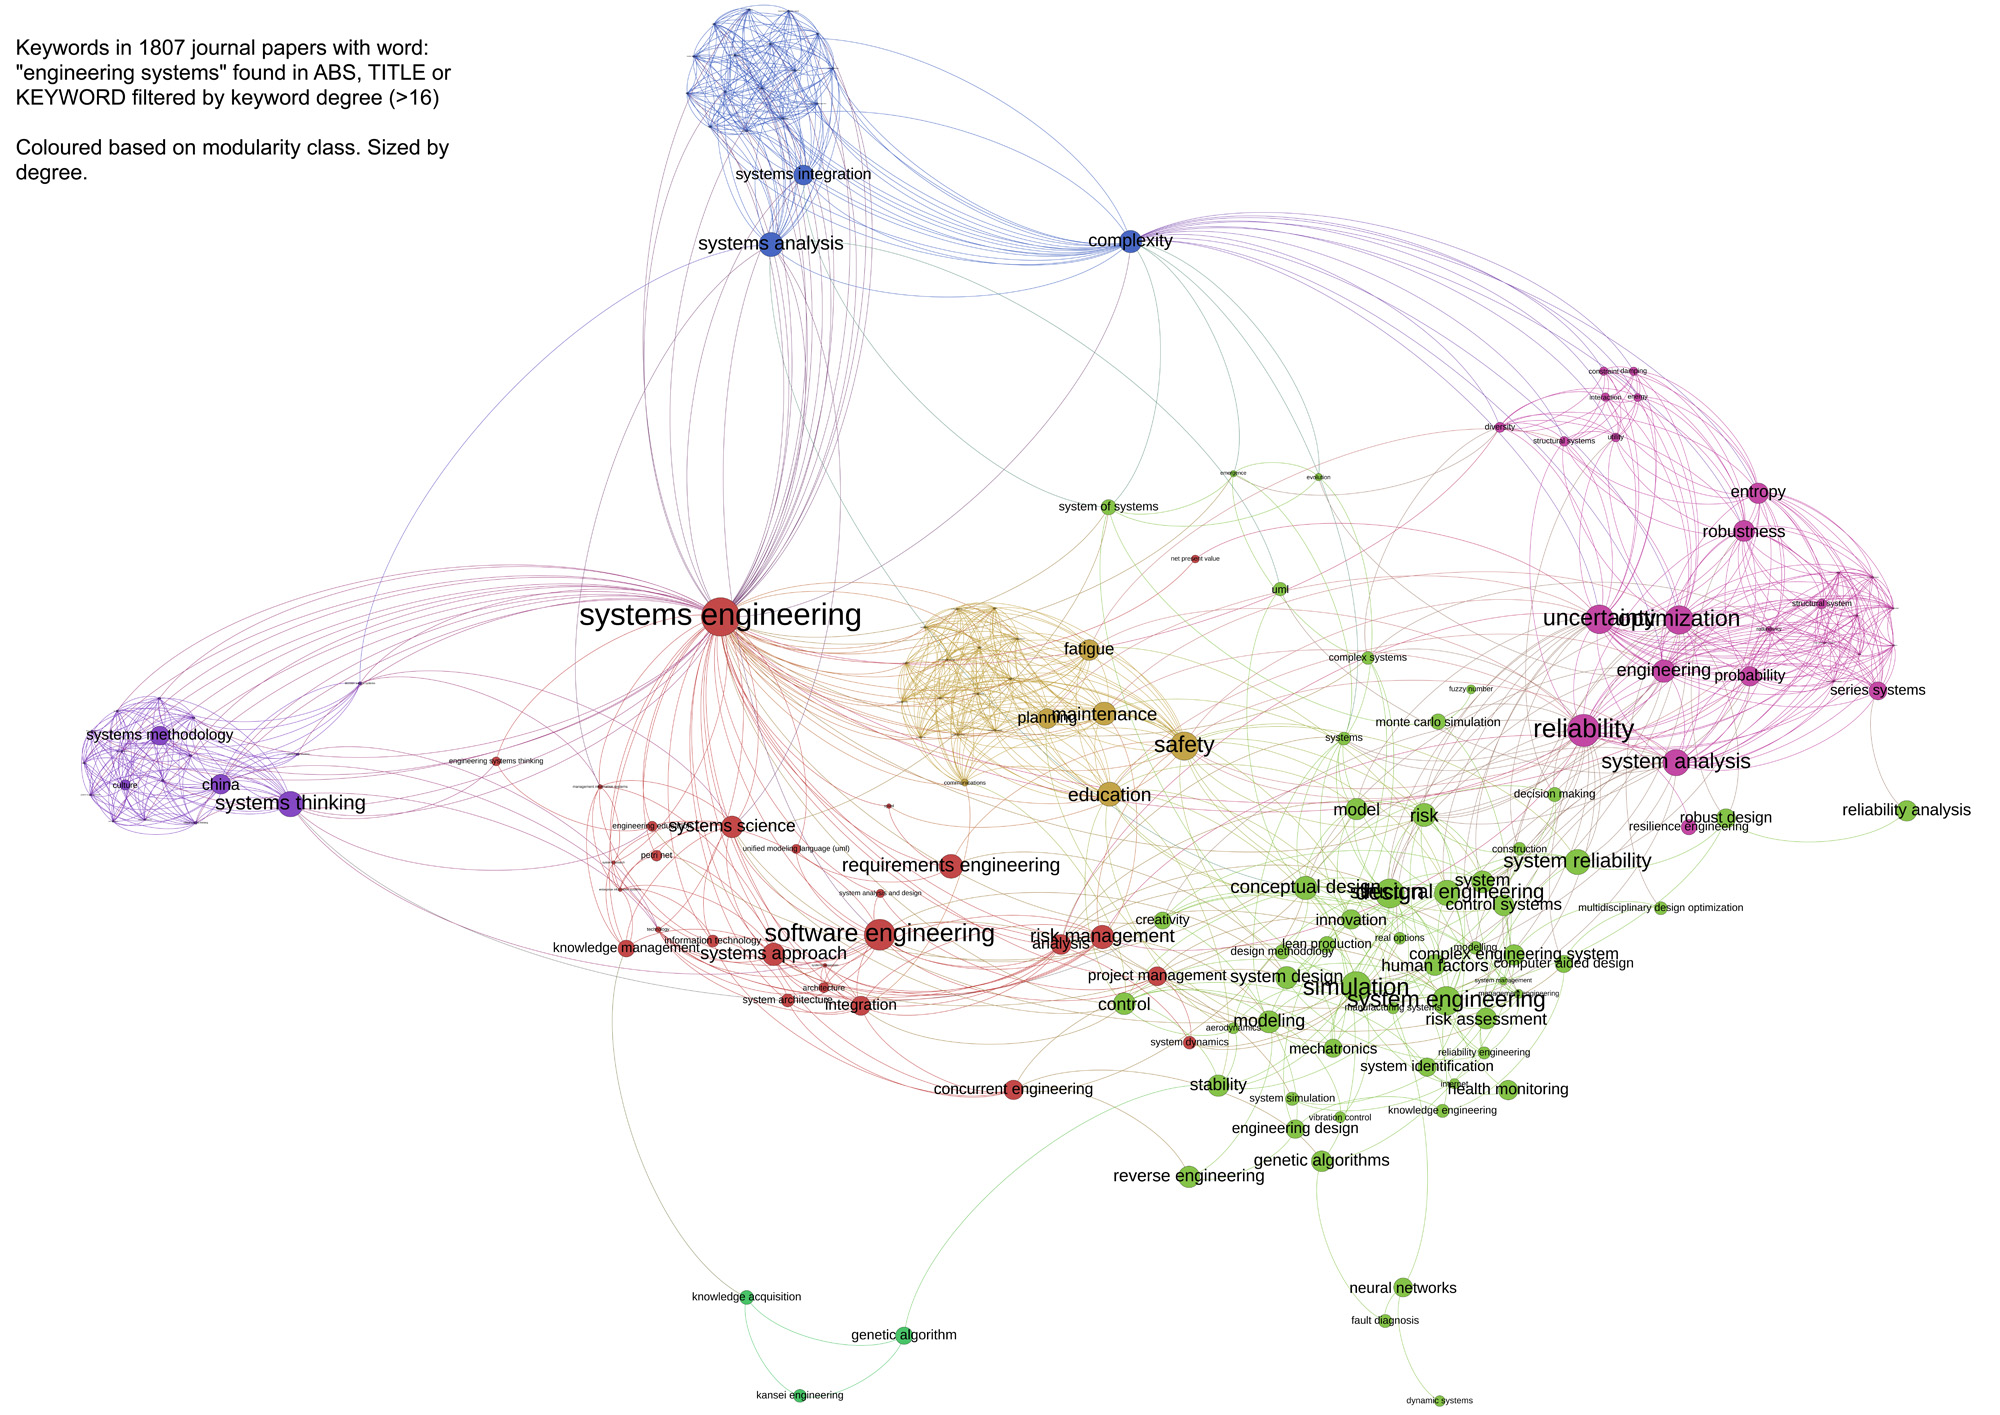
one of Pedro’s graphic representation of his research field where he studies the networked design process of complex engineering systems.
Working as an architectural designer I am daily developing concepts into usable space, but I hadn’t often stopped to think about all of the networks and components involved in the process. Reading Pedro’s research, and skyping with him I was inspired to take a closer look at networks within my own designs. At work a network for a project includes not only my project team, but any passing coworker with a comment or questions. I may consult someone in a different department on materials they have used, or consultants that have assisted them on past projects. Details are often passed on from previous projects and manipulated to specific conditions, or improved upon. No design flows from concept to completion in a bubble without influence from numerous sources; nor should it. (Pedro’s comment: “This reflection is great and is totally in line with the motivations behind my research.”)
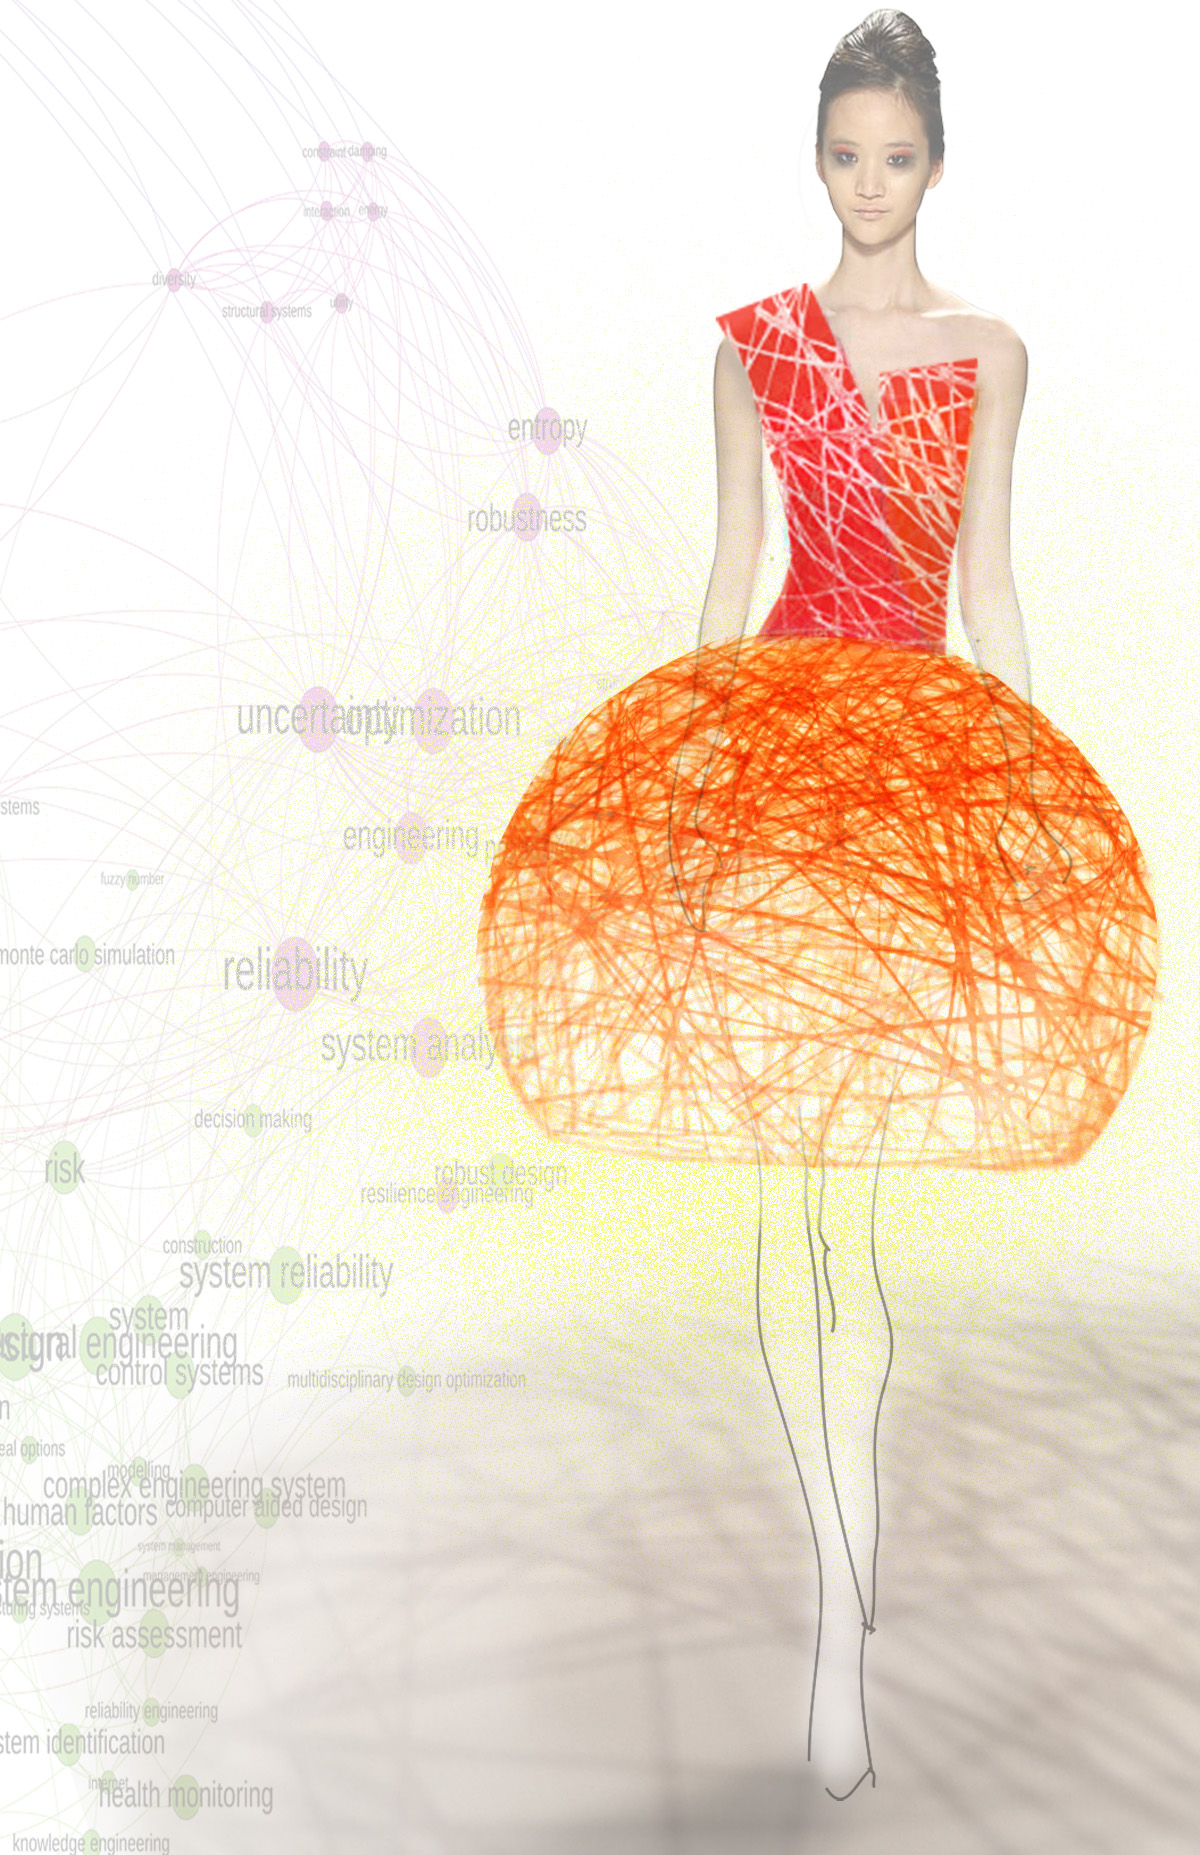
process sketch for Descience exhibition
I wanted to highlight the design process with a garment that transformed from a concept to a final product. I was drawn to the forms from Pedro’s network diagrams and the overlapping quality of how the networks weave together. (Pedro’s comment: “Cool, this reminds me the concept of multiplex networks.”) This became my conceptual base for the skirt. I was unsure of how I would actually build this concept into a wearable skirt, and began searching for a production method. I settled on a method used by many elementary school children, and DIY brides to be, the yarn ball.
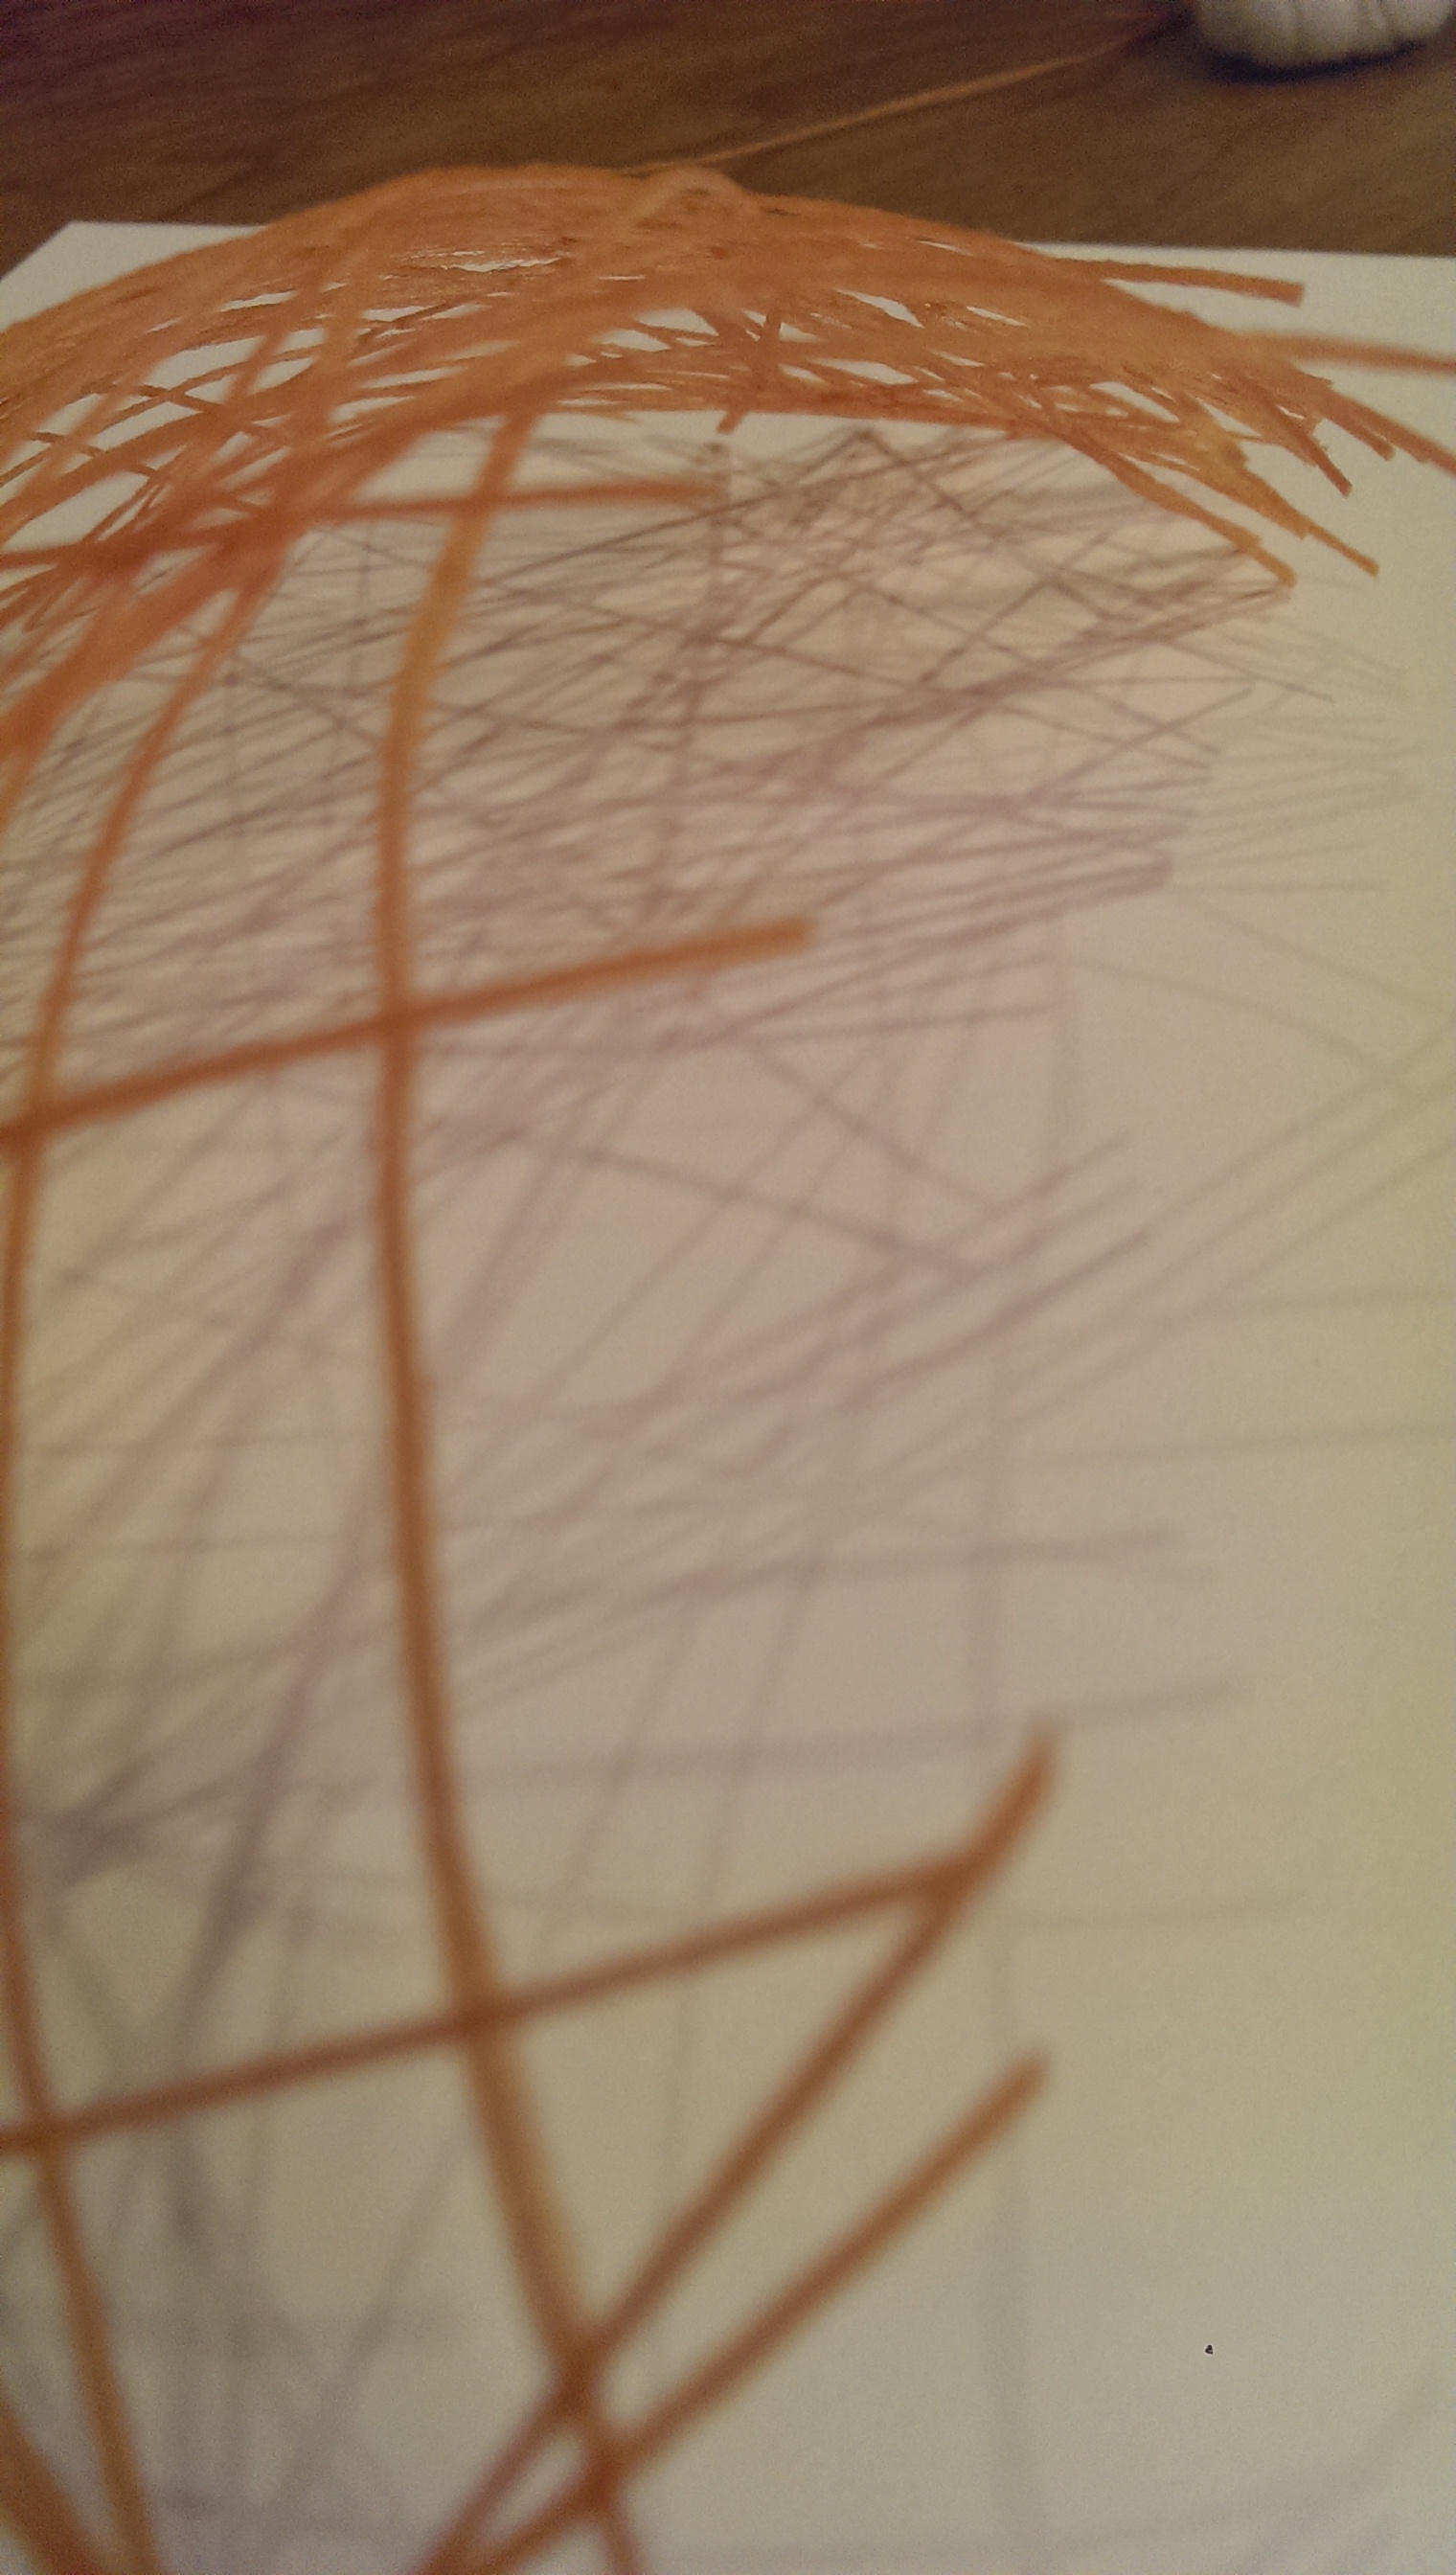
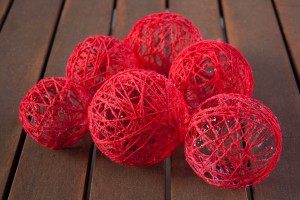 To make these at small scale you dip yarn in glue or Mod Podge and wrap it around a balloon or ball. After it dries you pop the balloon and are left with a very cool Mother’s day present, or beautiful table centerpiece. They can also be made into lanterns, which cast beautiful shadows. I liked the idea of the skirt casting a shadow of the layered network that reached even further than the extents of the garment. (Pedro’s comment: “Nice connection with the idea of blurred network/system boundaries and cascading effects in networks.”)
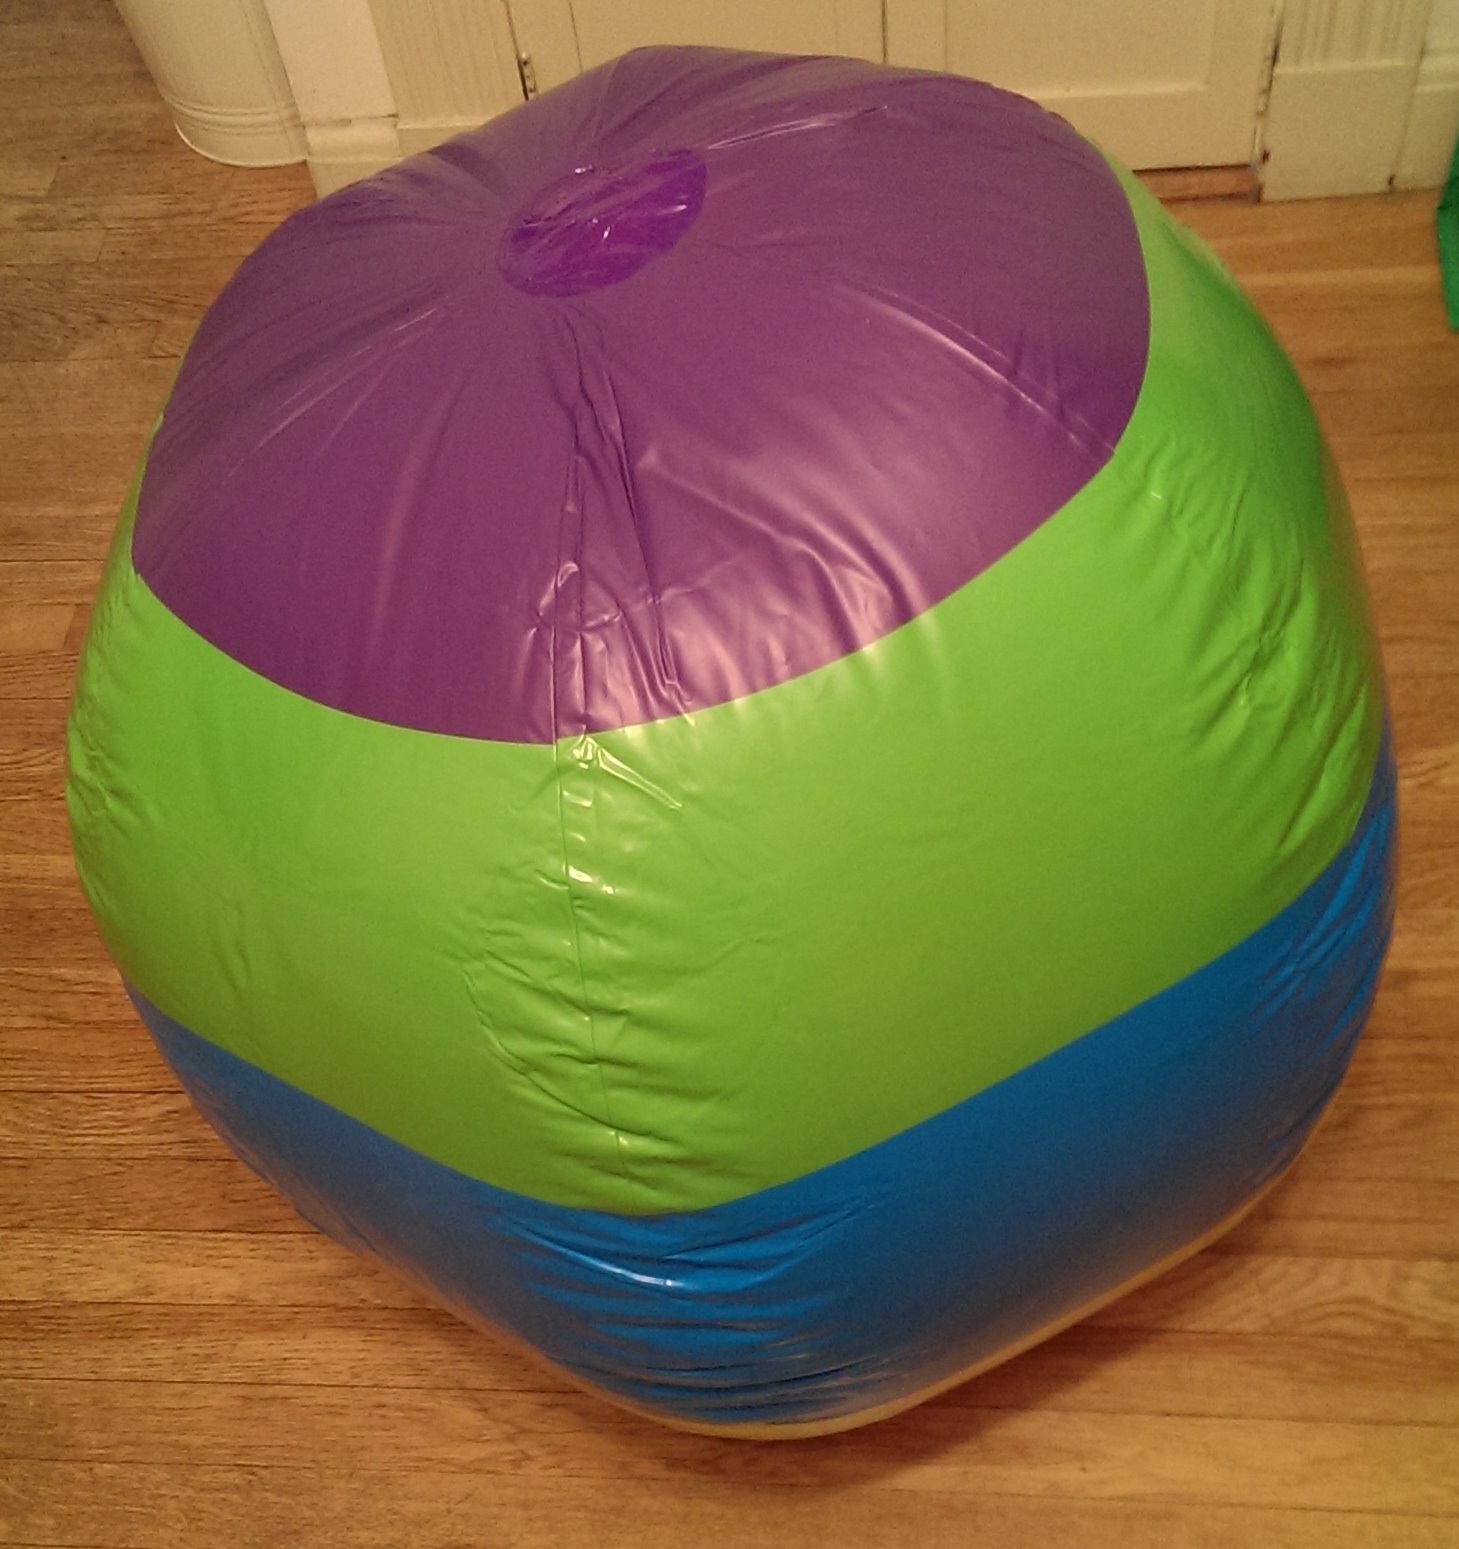
 Since I wanted mine to be full sized skirt size, I bought a giant beach ball, and A LOT of Mod Podge.
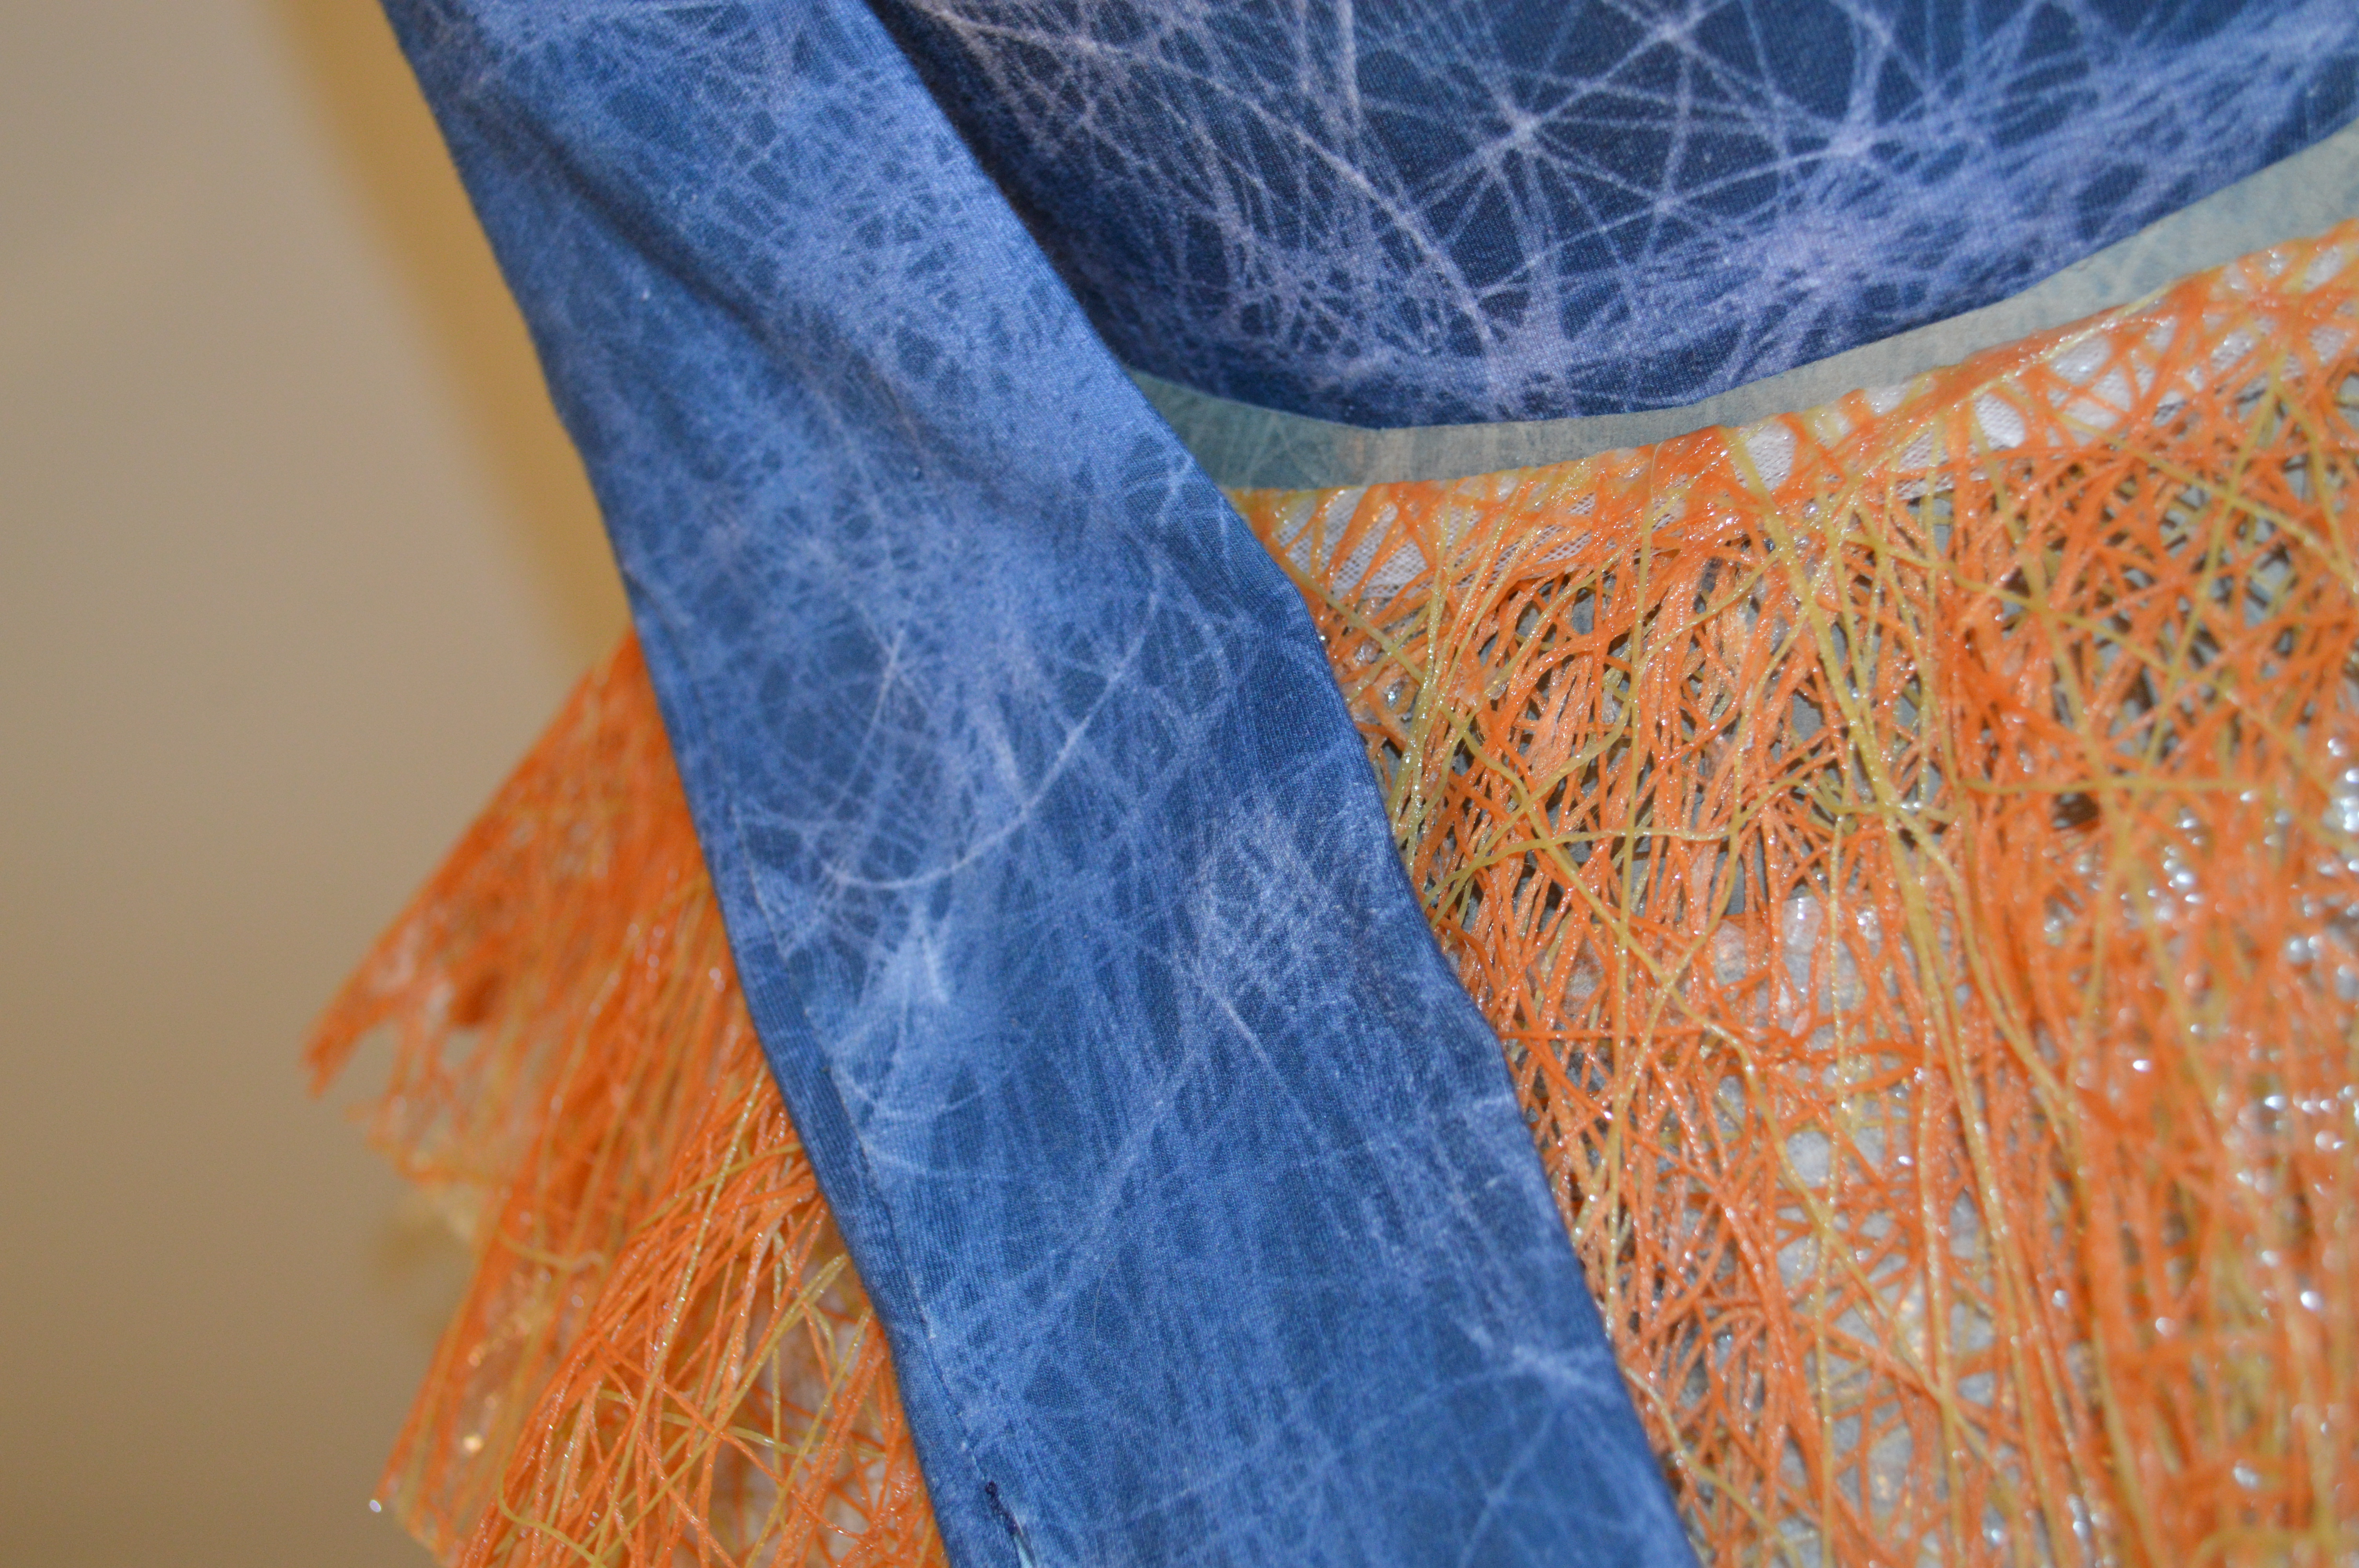
 The yarn provided the lightweight, “floating” conceptual form that I was looking for, and I wanted to showcase the same pattern of interwoven networks on a more finished piece of the garment. On the fabric I wanted the pattern to be an inverse of the skirt, so that it almost looked like the concept material had “stamped” the garment. (Pedro’s comment: “This is also quite interesting, I didn’t realize you used this method. You could connect this with the ideas of emergence and self-organization in complex networks and the network growing and having a semi -autonomous behavior. Check this out.“) Rather than have a manufactured fabric printed, I went the DIY route, and used Inkodye, a UV reactive fabric dye to print the inverse using my mock up skirt as the stencil.
 This was an insanely complicated process, mostly because I was incredibly picky about how the final prints looked, and it took about 30 tests to get the right color and pattern. But once I had it printed I was so excited that my “concept” had printed a “finished” fabric!
I had decided to sew a body suit out of my printed network fabric. It balanced the conceptual form of the skirt with a close fit, and showcased the print in contrast to the skirt fabric. Because Pedro’s work often reveals the more informal networks within the process I wanted the final design to take on more of an casual quality, and gave the body suit long sleeves with thumb holes and styled it with some fabulous wedge sneakers that I found online. (Pedro’s comment: “Good point 🙂 ” )
 In all of my research about yarn balls I had not found any quite a big as I was undertaking. I had made some small-scale tests to try out different types of yarn, and had settled on a very thin yarn used for making commercial carpets. I made my test skirt which turned out to be an incredibly time consuming process. Because I wanted to use such thin yarn I had to dip it carefully in the Mod Podge before wrapping it around the ball. This took a lot of time, and still occasionally knotted up even when I was being vigilant. Because the process was so slow the first ball took me about 4 weeks to complete! And when I took the skirt off of the ball I was disappointed to find out that it wasn’t holding it shape like my smaller samples had. Really my desire for a giant skirt made of a delicate yarn was working against me, but as Tim Gunn and my boyfriend would say I had to “Make it work.” I started on the second (and final) ball, not entirely sure of how I would solve my problem.
 I did succeed in learning two lessons right off the bat. The first was that rather than cut the skirt to create an opening at the top and bottom, I added ridges to the ball to control the edges and create those openings as I draped the ball. This made for much sturdier openings for the waist and legs. The second was that I needed a quicker process to dip the yarn and get it on the ball. My amazing boyfriend designed and built me a rig, which dipped the yarn in the Mod Podge as is spins off of the spool. Patent pending for all of your large yarn ball needs. (Pedro’s comment: “Yet another example of collaborative design process!“)

Ben’s yarn dipping rig!
After completing the second ball much quicker (in about a week) I took it off of the beach ball. While my improvements had helped, they hadn’t solved my deflating sphere problem. After just a few minutes off of the ball the skirt would begin to droop. Luckily I could re-inflate the beach ball inside while I worked on a solution.
Ben was convinced that the yarn wasn’t dense enough, so I spent the next few days wrapping on even more yarn. Some of the tutorials for the smaller balls had suggested spraying it with a clear acrylic paint or starch to give it a stiffer hold. I tried both of these on smaller samples without any luck. I was pretty sure it was because I wasn’t applying all of the yarn in one day, and the bonds between different days and layers were not as strong. Very likely the problem was just that the ball was too big, and the yarn too thin. (Pedro’s comment: “This really sound like an issue about the strength of ties.“)
Whatever it was, I needed a solution. The deadline for the competition was fast approaching and I didn’t have a skirt for my model to wear! I had done a test ball where I had layered trace paper, and had really liked the concept of layering in a design process element into the skirt. Trace paper is the medium I use to sketch and bring my research, and concepts into early forms. The trace paper had made the test ball pretty stiff, I just hadn’t loved the look of it. (Pedro’s comment: “This is interesting as I sometimes model my networks and create the connections between activities or people using actual document traces as the proxies for communication.“)
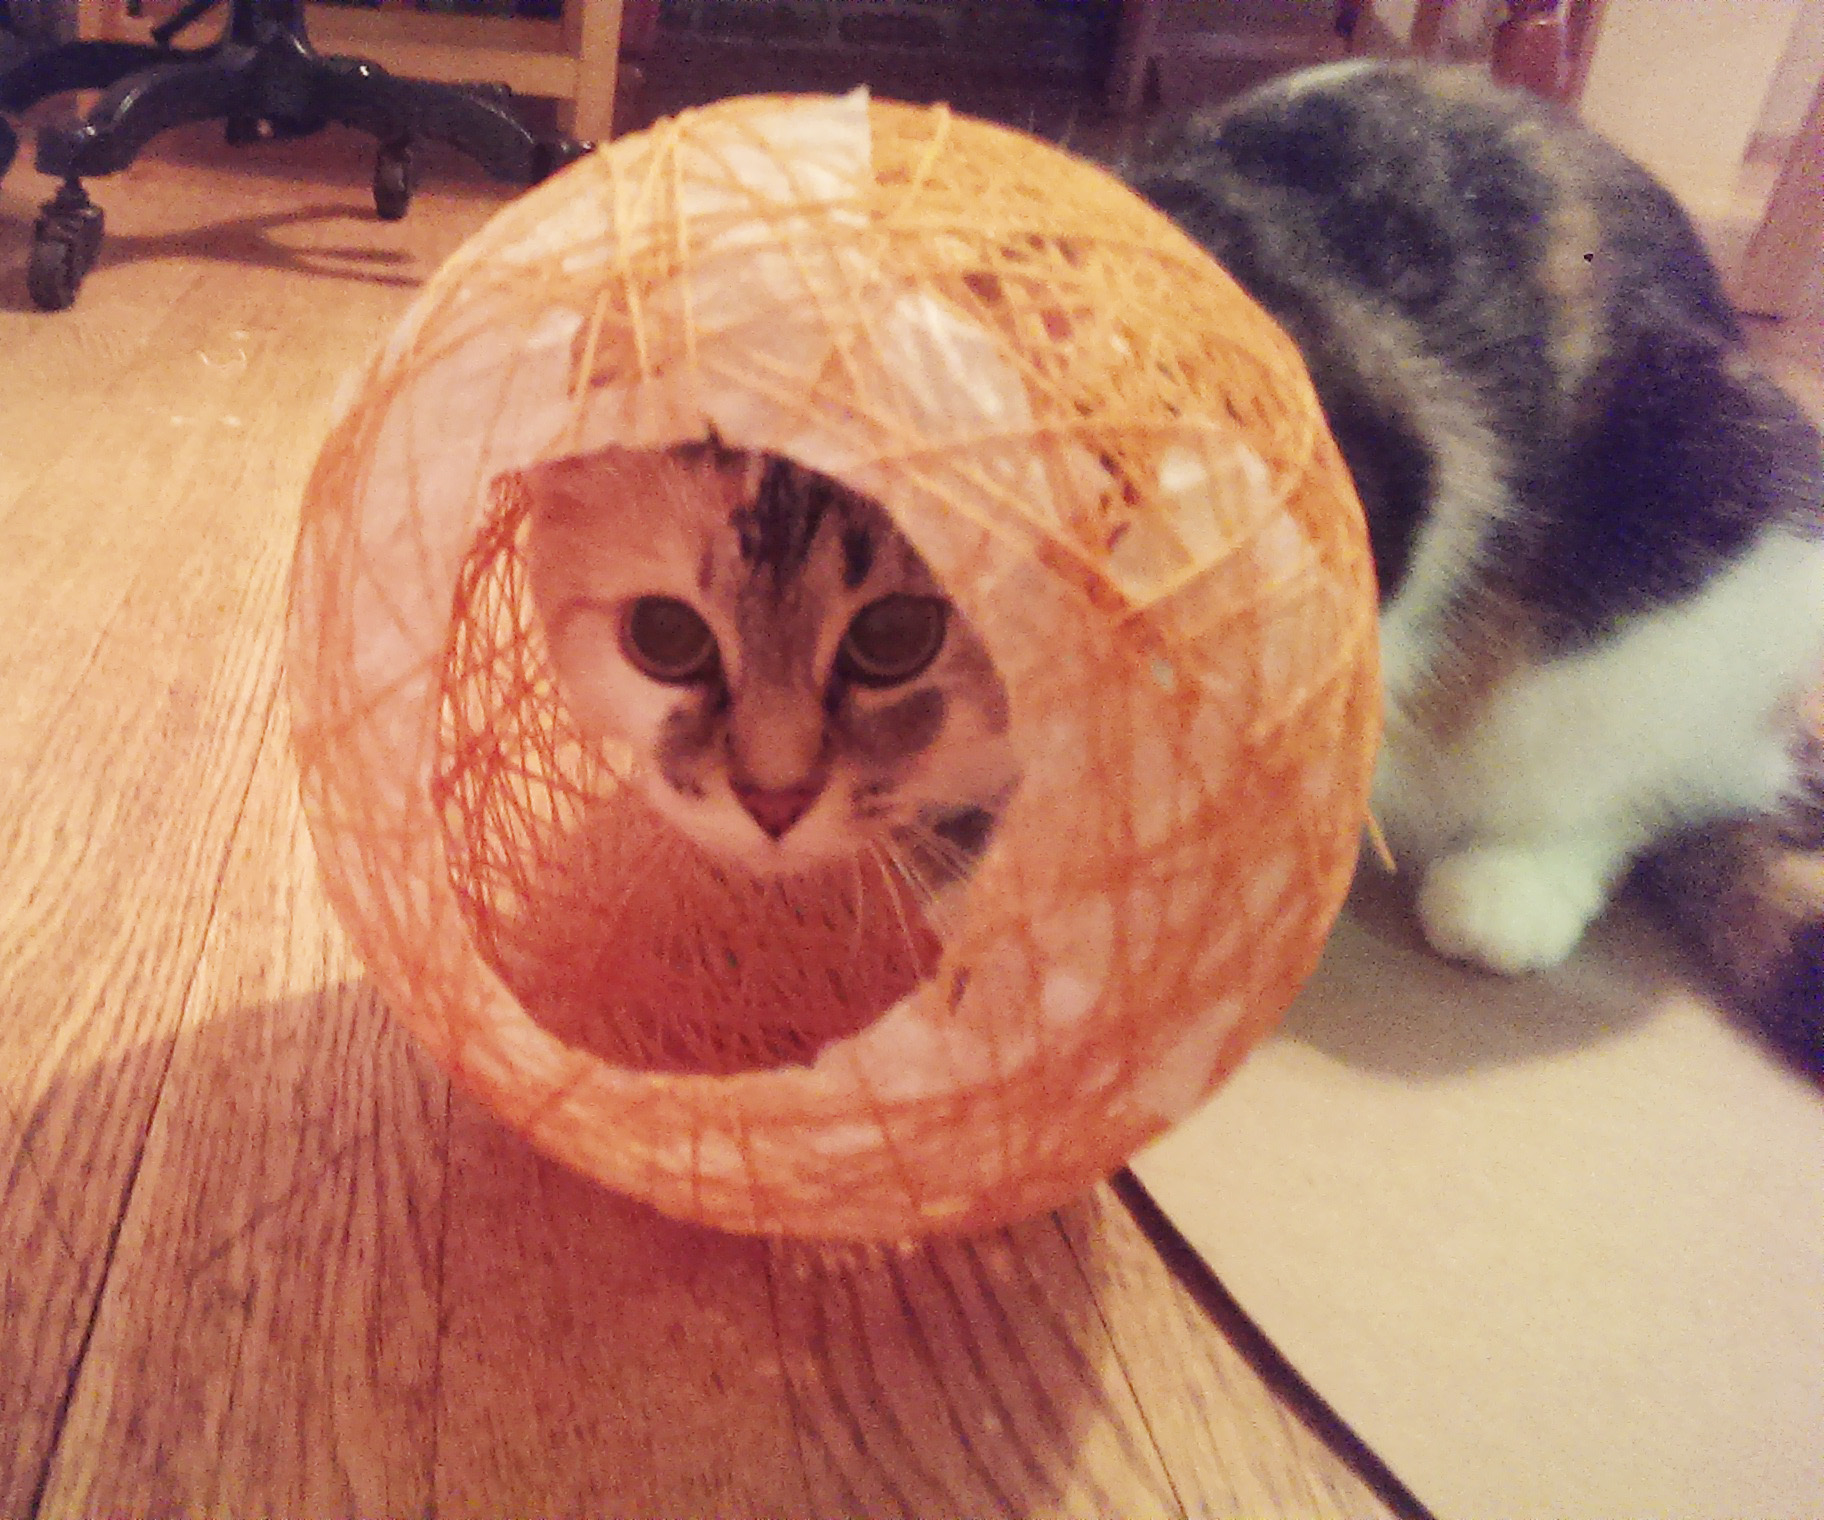
Boo modeling my original trace paper test ball
In a Hail Mary attempt I added the trace to my skirt, fading it in to create a more solid shell near the waist. Conceptually I liked the idea of the concept solidifying, and it turns out that at the larger scale and with strategic application I loved the look too! It was a happy move that paid off big. The next time I removed the beach ball the skirt kept its shape perfectly!

original trace paper conceptual sketches
As I mentioned earlier, I had wanted to add light, similar to the lanterns to achieve an expanding “network” shadow around the skirt. (Pedro’s comment: “Sounds like network dynamics to me.“) When adding the lights however I was unable to achieve the direct spotlight needed to really get a crisp shadow. What I did achieve was a warm glow, which only further enhanced the inlaid translucent trace paper shell. Happy accident number two!!
Completing my design is not the end of the story. Right now the Descience judges are pairing down the entries to 15 finalists who will walk in a runway show at MIT in September. In the meantime online voting is now open for “People’s Choice”.
VOTE FOR US HERE!
You can also see all of the team online portfolios until September 26. If you find this project interesting please share the link and help us get more exposure for this great collaboration of science and design!
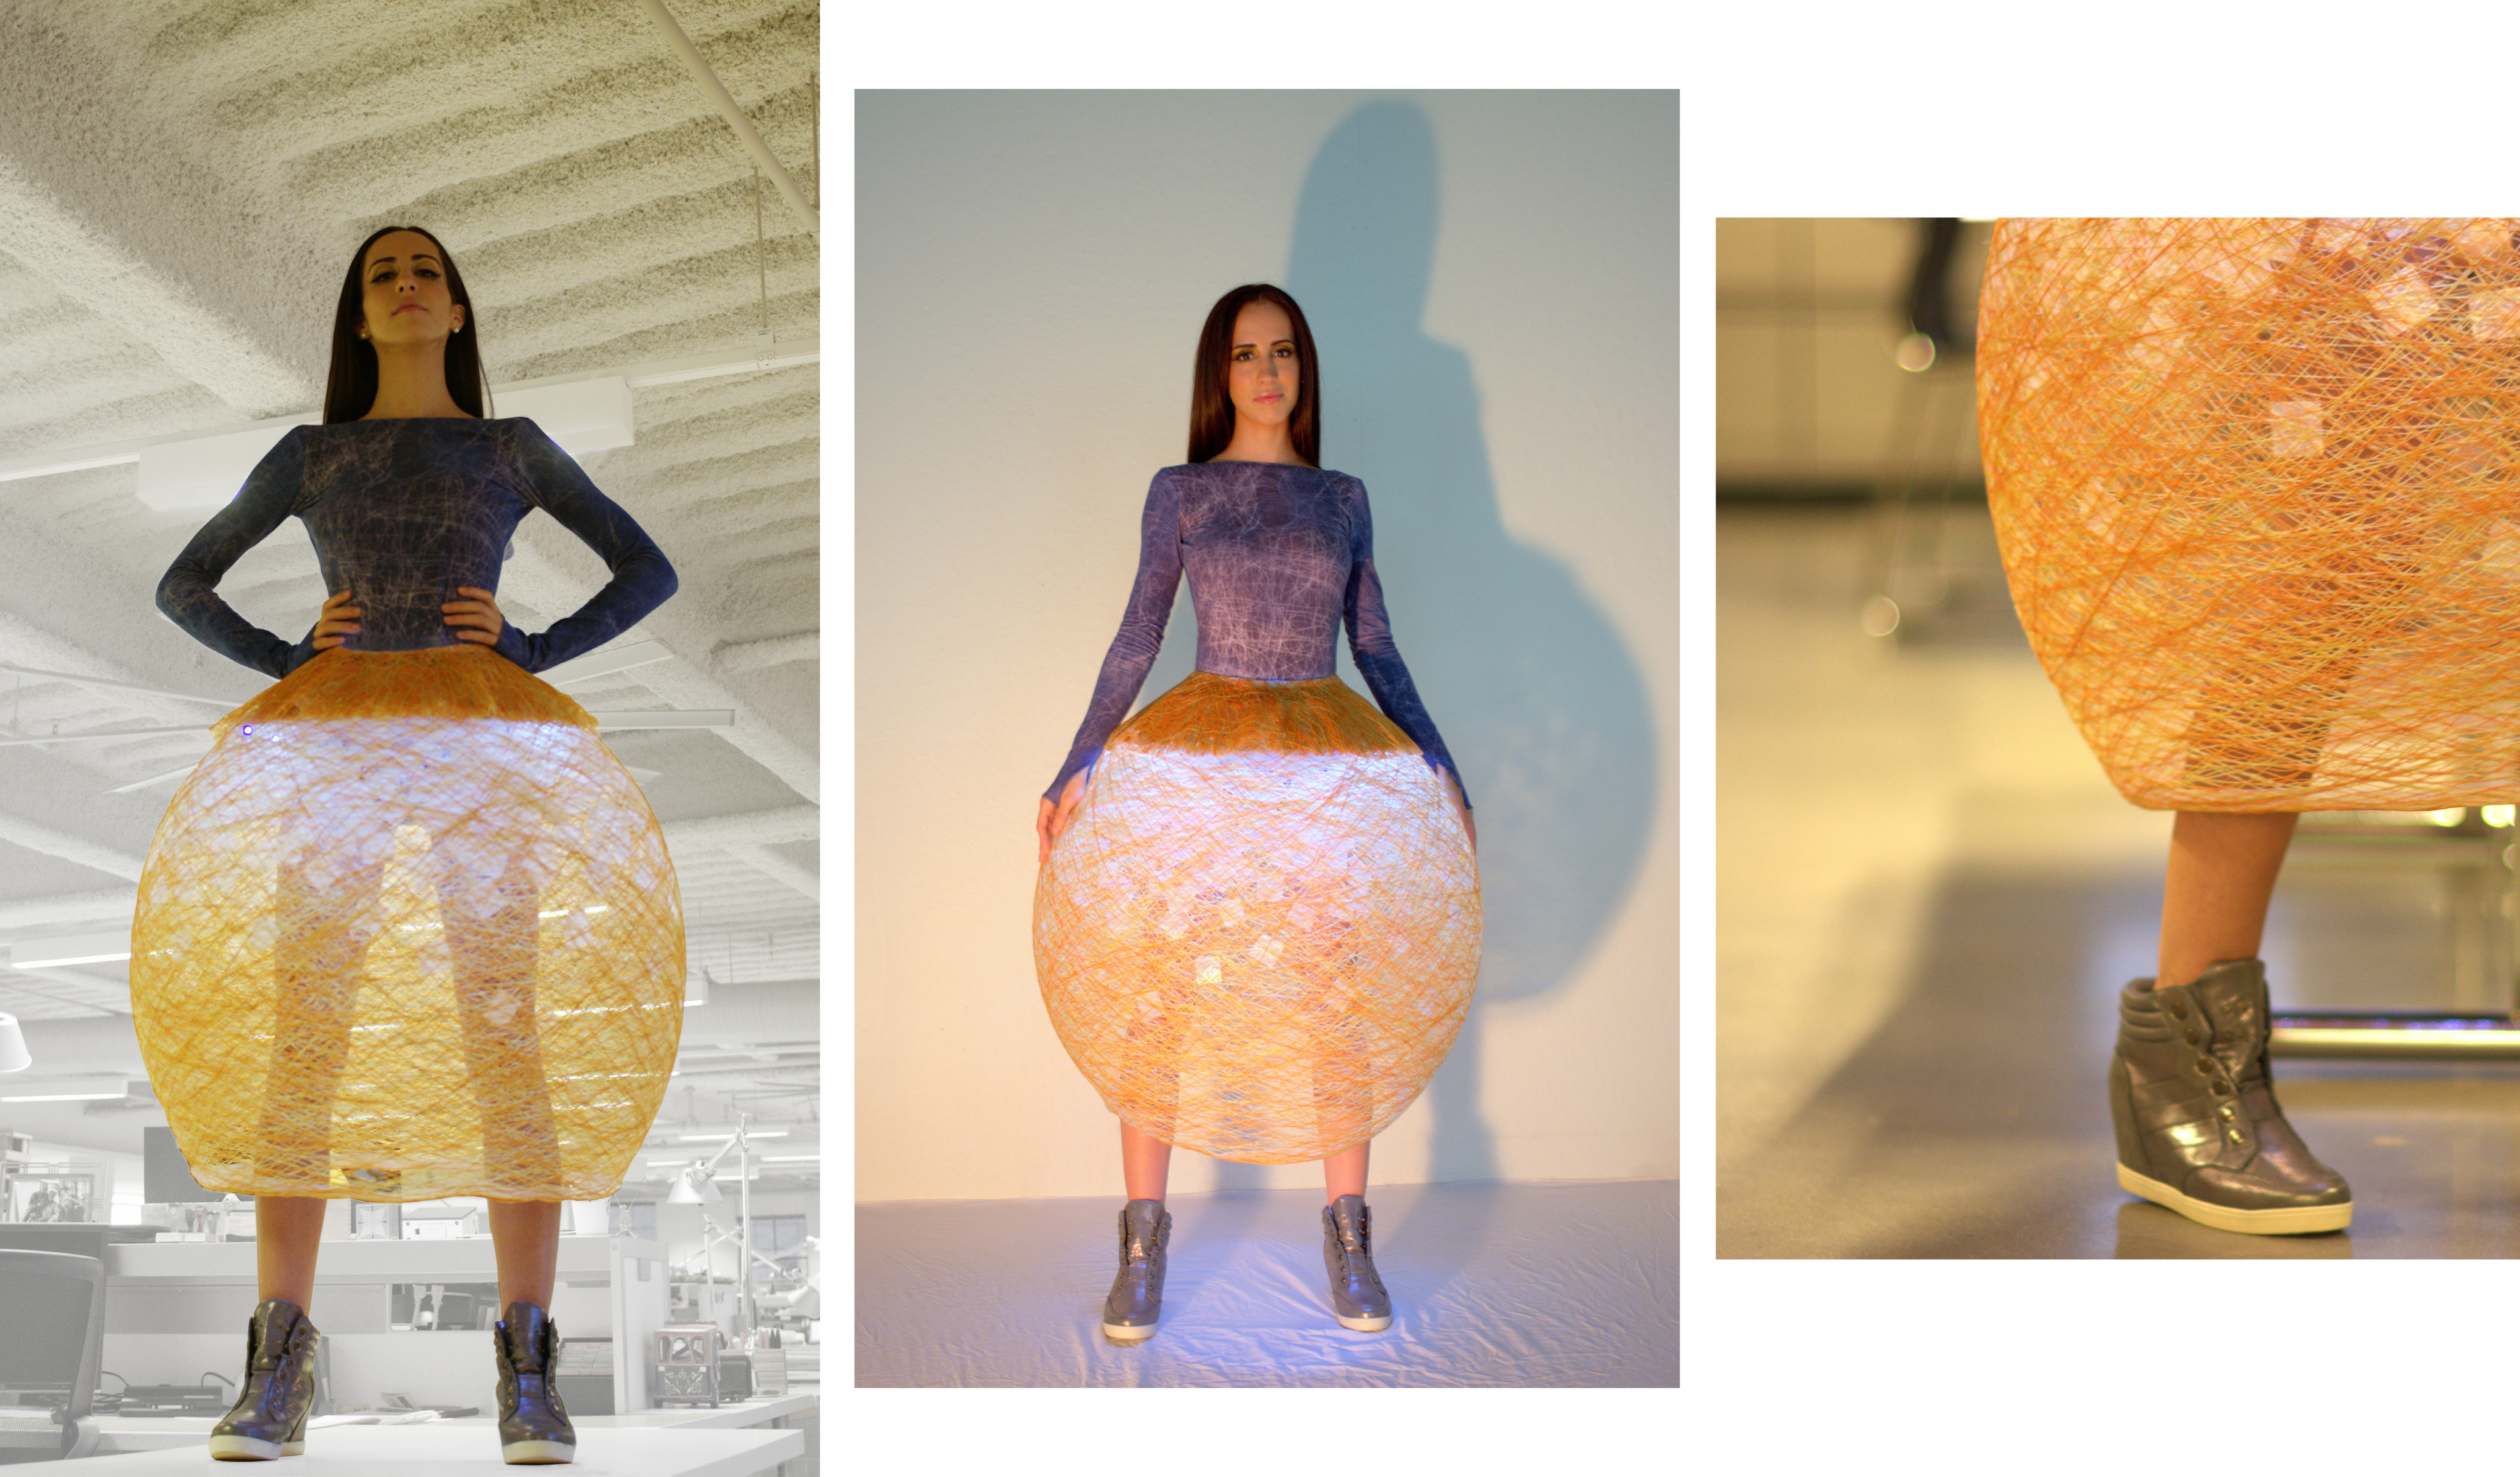
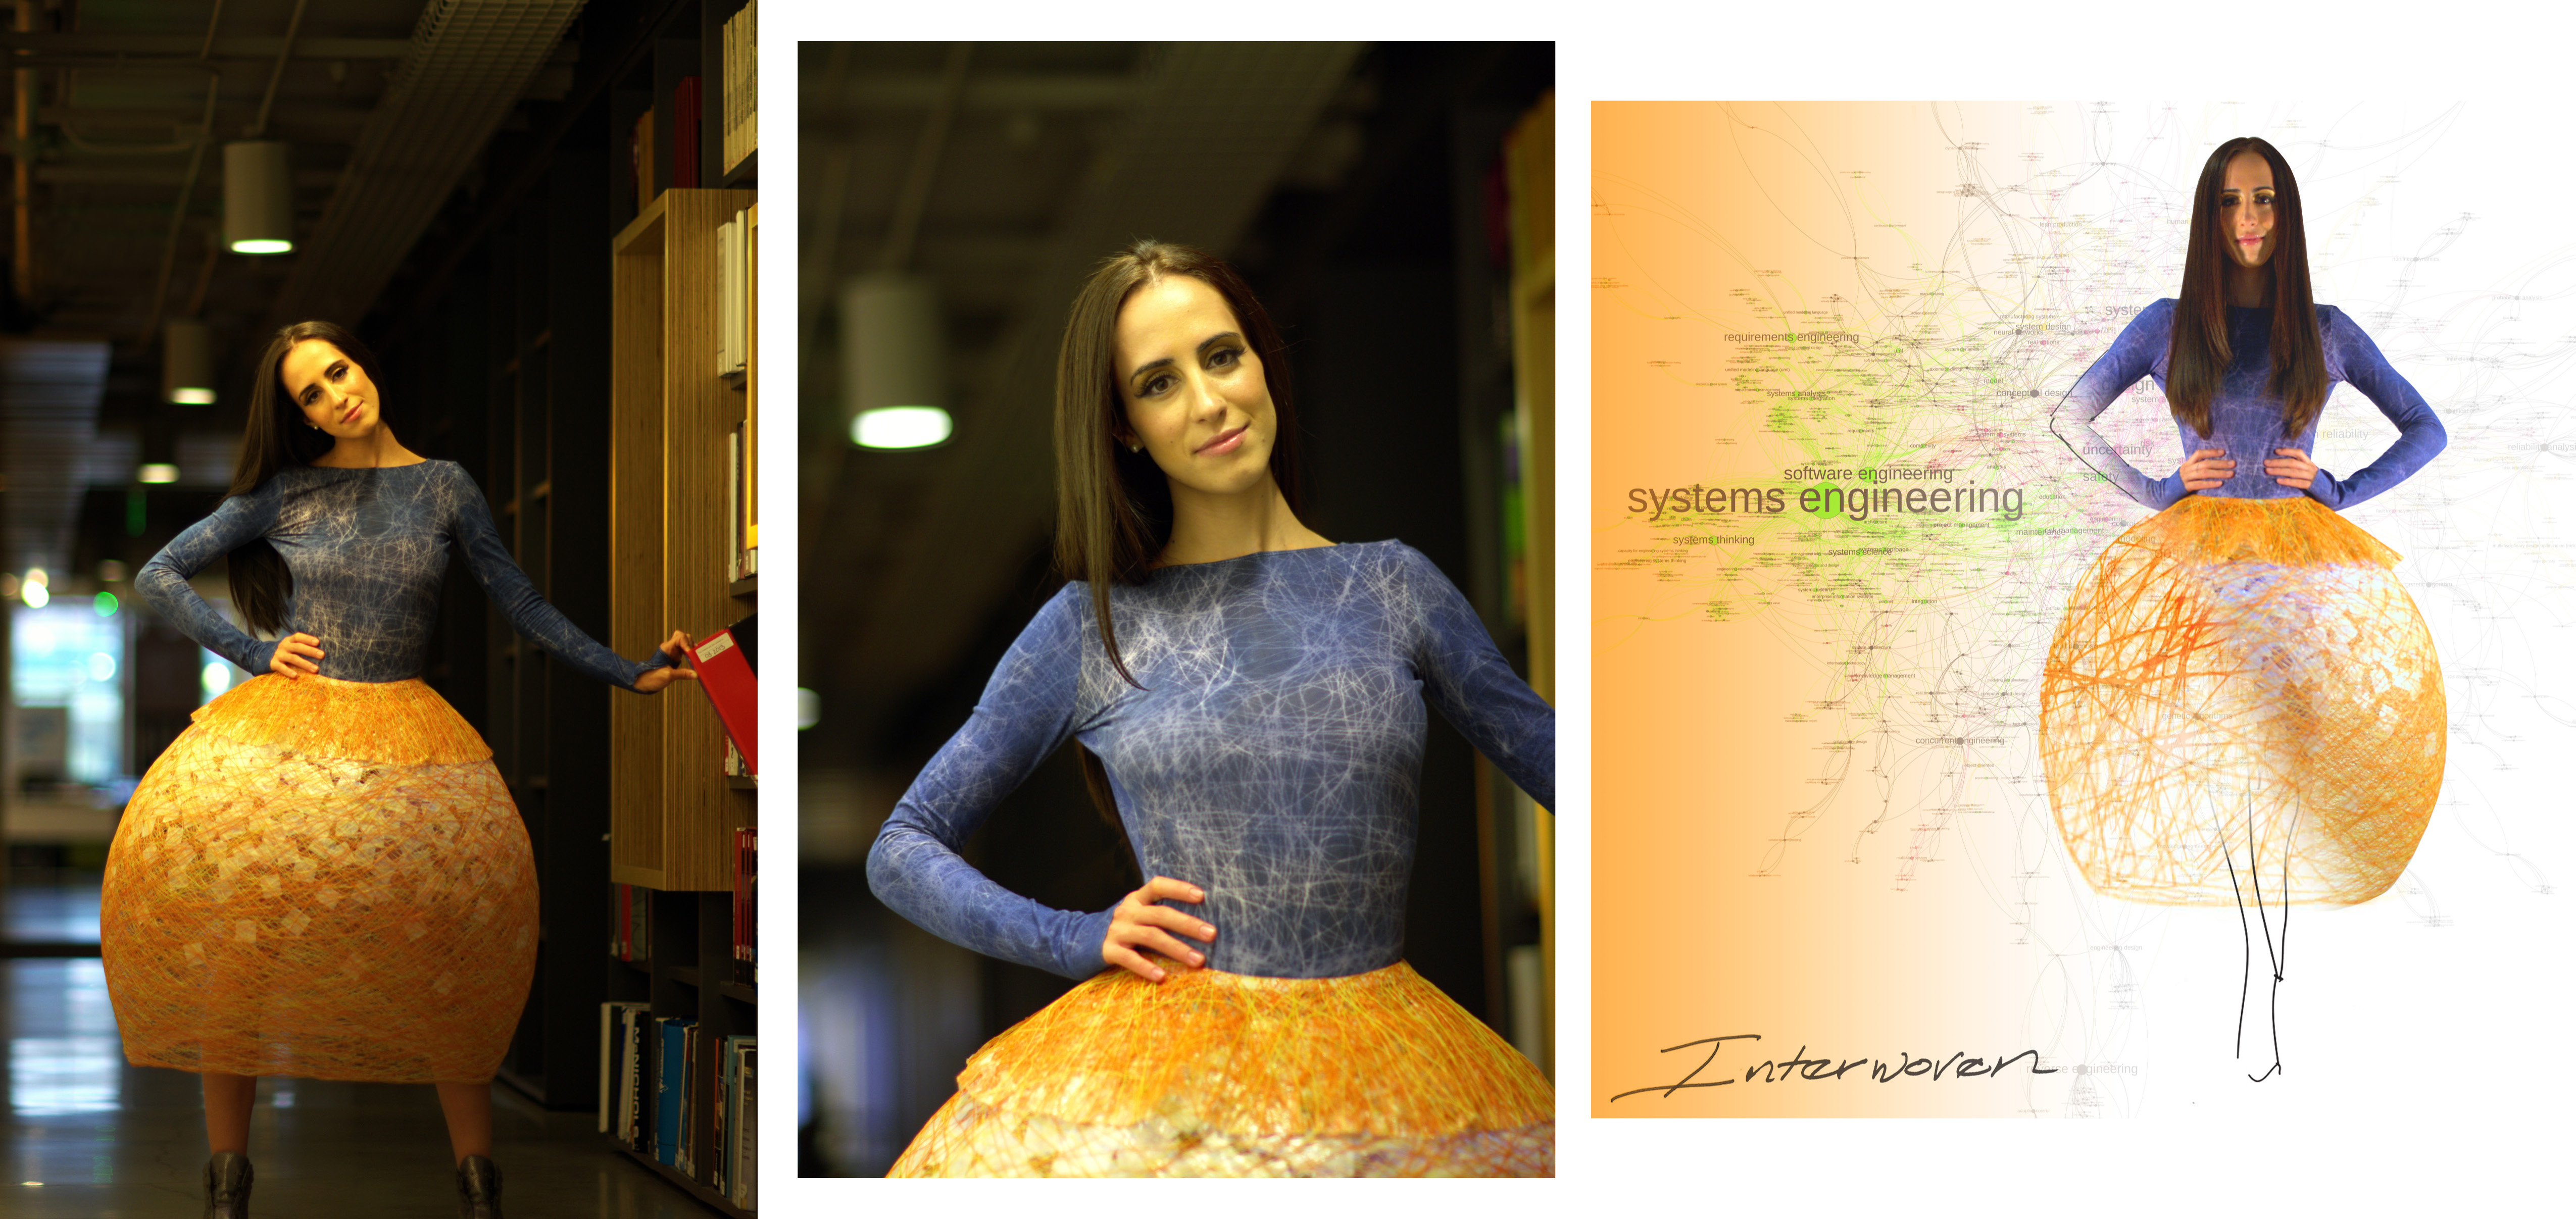
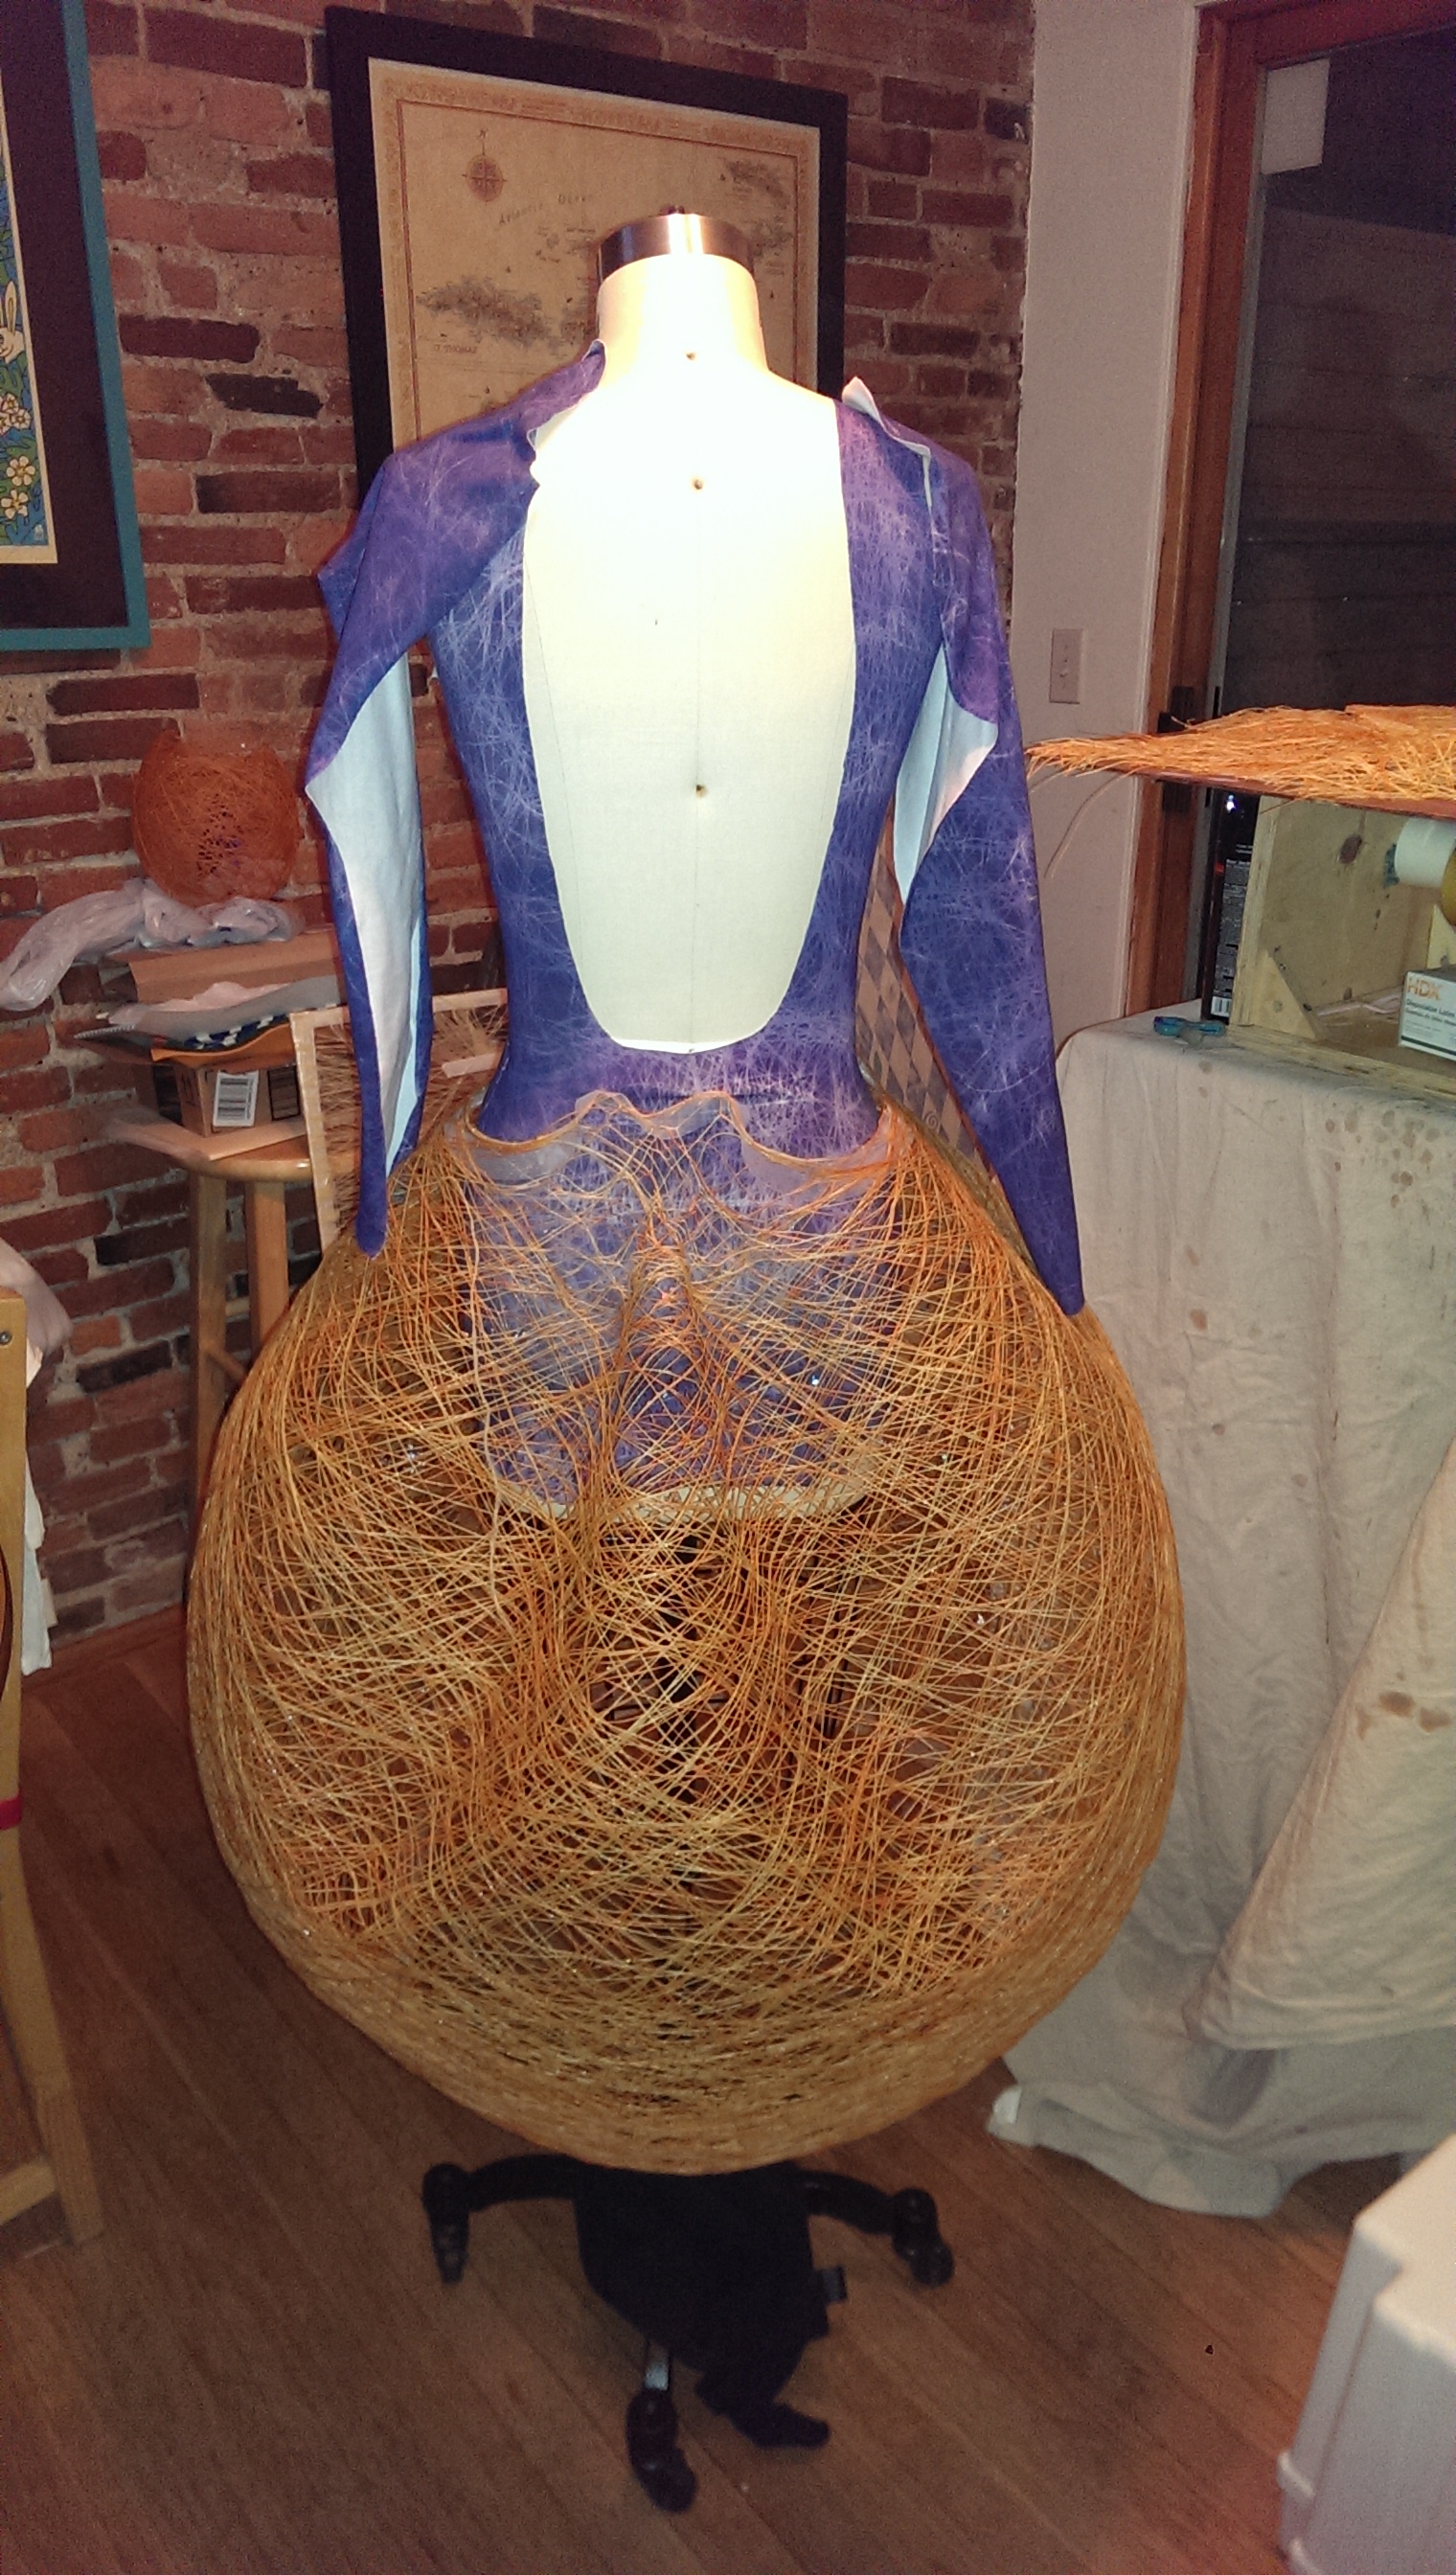
final photo shoot!
Overall I’m incredibly happy with how my entry turned out. I had never made clothing before, and this competition really pushed me to educate myself about sewing techniques. I forced me to learn a lot about my sewing machine and knit fabrics. It has certainly inspired me to take more classes and continue to get more skilled at making clothes. Next on the docket is a dress for myself, but perhaps something a little easier to sit in!
I have to end with a couple of shout outs, first to my partner Pedro, for taking the time to explain to me his interesting research in networks within the manufacturing process. A special thanks to my wonderful friends Andrew and Liz for being my photographer and model for the photo shoot, and to Aki, who has lived with a disaster of a dining room in our apartment for the past few months. But my biggest thank you has to go to Ben, who has put up with me, talked through the design, and even would run out to buy me more Mod Podge, all done mostly without complaint. And thank you to everyone who takes the time to VOTE! I greatly appreciate it!

amazing! Of course I voted for you… but you made it easy. Beautiful work!
Thanks Adriane! You’re too sweet 🙂
Pingback: the gym alternative – classpass | Balancing Blonde